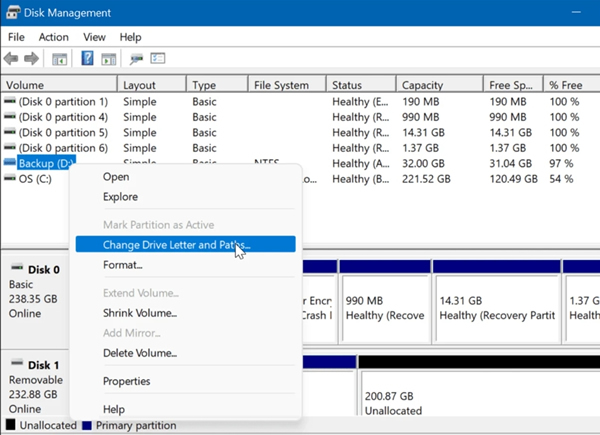
Windows Disk Management is a built-in system utility for managing disks and partitions. You can use it to initialize new drives, create and format volumes, change drive letters, and extend or shrink partitions. It works the same way in both Windows 10 and Windows 11.
How to Open It
The quickest way is to right-click the Start button and select Disk Management. Alternatively, press Windows + R, type diskmgmt.msc, and hit Enter.
Common Tasks
Here is a quick overview of the most frequent operations:
- Initialize a New Disk: New internal drives usually appear as “Offline” or “Not Initialized.” Right-click the disk label and choose Initialize Disk. You will need to pick a partition style: GPT is recommended for modern systems (supports drives over 2 TB and UEFI boot), while MBR is for older hardware or compatibility.
- Create & Format a Volume: Once initialized (or if there is unallocated space), right-click the Unallocated space, select New Simple Volume, and follow the wizard to assign a drive letter and format it (usually as NTFS).
- Extend or Shrink: You can right-click an existing volume to Extend Volume (only if there is adjacent unallocated space) or Shrink Volume to create free space for a new partition.
Important Cautions
- Data Loss: Initializing or formatting a disk will erase all existing data on it. Always double-check that you have selected the correct disk.
- System Partitions: When viewing your main drive, you may see small partitions labeled EFI System or Recovery. Disk Management might show them as “100% free,” but they contain critical boot files. It is strongly advised to leave these partitions alone.
